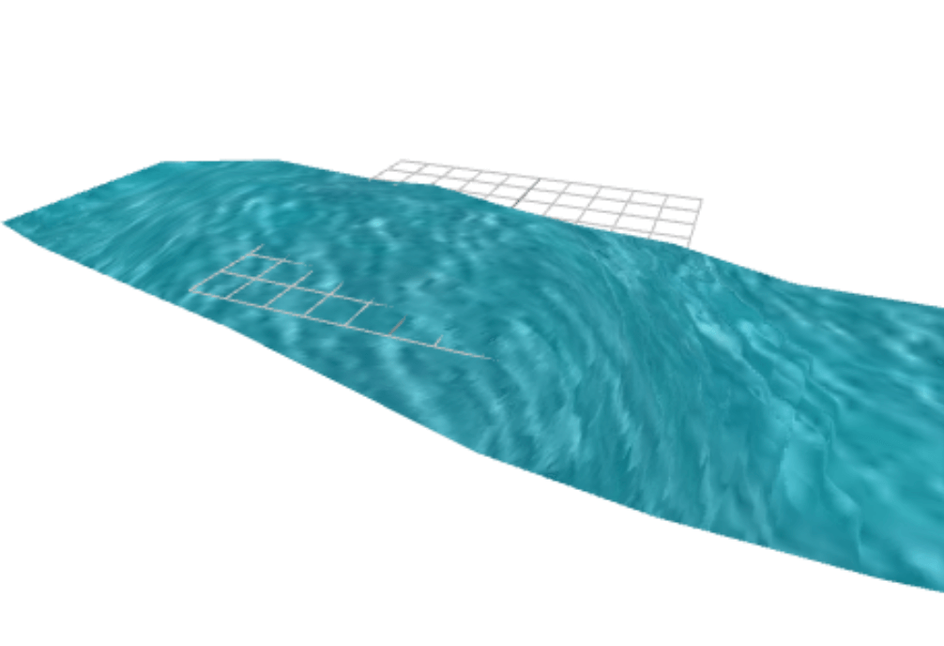
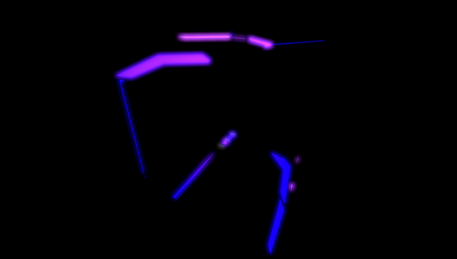
This project was based of this codesandbox which highlighted how to draw onto a texture of a mesh, live. Then display this texture as a map onto the mesh. All as you live draw onto the mesh!
The codesandbox in question here.
The plan is to use this live texture paint and create a red/green flowm map painter for @react-three/fiber.
Live texture painting
The general flow of this is: onHover events —> grab uvs —> create direction between current and previous uv positions —> use direction as color input for live texture painting.
But how can live paint?
First off we create a canvas texture onMount.
1useLayoutEffect(() => {2 const canvas = canvasRef.current;34 canvas.width = 1024;5 canvas.height = 1024;67 const context = canvas.getContext("2d");8 if (context) {9 context.rect(0, 0, canvas.width, canvas.height);10 context.fillStyle = "white";11 context.fill();12 }13}, []);
This creates a blank canvas for us to work from.
The next step is the onMouseOver function.
1function handleBrushPointerMove({ uv }) {2 // if (allowControls) return;3 if (uv) {4 const canvas = canvasRef.current;5 // canvas.style = "mix-blend-mode: multiply;";67 const x = uv.x * canvas.width;8 const y = (1 - uv.y) * canvas.height;910 const context = canvas.getContext("2d");11 if (context) {12 // context.globalCompositeOperation = "color";13 context.beginPath();14 context.arc(x - 2, y - 2, 100, 0, 2 * Math.PI);1516 const direction = new THREE.Vector2().subVectors(prevUv, uv).normalize();1718 context.fillStyle = `rgb(${direction.x * 255},${direction.y * 255},0.0)`;19 context.filter = "blur(90px)";20 context.fill();21 // context.closePath();2223 context.globalCompositeOperation = "source-over";24 }25 const newTex = new THREE.CanvasTexture(canvas);2627 setFlowMap(newTex);28 setPrevUv(uv);29 }30}
The intersection uvs are grabbed from the event in @react-three/fiber. Using these coordinates we can create a x/y coordinate for out canvas texture. To be able to draw we need the context of the html canvas.
1context.arc(x - 2, y - 2, 100, 0, 2 * Math.PI);
This draws a circle at x/y coordinates and then has a radius of 100 and the 2 * Math.PI means a line is drawn 360 around the central point.
Whats a flow map
So as youve seen above we are using the xy coordinates or the direction between the previous and current uv coordinate. So we get a direction AB = B-A (vector math).
Then the blur is applied.
Without blur:

With blur:

As you can see this blur ensures a nicer flow to the flowing body.
The final two bit involve setting the current uv to be the porevious one and using rect state to store the texture which we use in the render.
1<mesh2 onPointerDown={() => setAllowControls(false)}3 onPointerUp={() => setAllowControls(true)}4 onPointerMove={handleBrushPointerMove}5 geometry={nodes.Plane.geometry}6 scale={12.17}7>8 <shaderMaterial9 attach="material"10 ref={ref}11 args={[12 {13 uniforms,14 vertexShader,15 fragmentShader,16 },17 ]}18 />19</mesh>
The flow map is then passed in as a normal uniform to the flow map shader.
1useFrame(({ clock }) => {2 texture.flipY = false;3 texture.wrapS = texture.wrapT = THREE.RepeatWrapping;4 riverTexture.wrapS = riverTexture.wrapT = THREE.RepeatWrapping;5 if (flowMap) {6 ref.current.uniforms.flowTexture.value = flowMap;7 }8 ref.current.uniforms.riverTexture.value = riverTexture;9 ref.current.uniforms.flowSpeed.value = 0.5;10 ref.current.uniforms.cycleTime.value = 20.0;11 ref.current.uniforms.time.value = clock.getElapsedTime();12});1314const uniforms = {15 flowTexture: { value: null },16 riverTexture: { value: null },17 flowSpeed: { value: null },18 cycleTime: { value: null },19 time: { value: 0 },20};
Dont forget the principle here, uvs are vec2’s which have the range 0-1 ( none repeating example) so these channels are also known as vectorPosition.rg, the red and green channel. So we are essentially saying the direction vector is still in the range 0-1 and tells us the x and y direction.

Recap of glsl implementation of flowmap
In esense the principle behind a flow map and how we use with glsl is as follows, we softly cycle through from position A to position B.
But in actual fact we cycle through from point A of UVs to point B of UVs, this way we sample the flow map directions which we can then cycle through.
1vec2 rawFlow = texture2D( flowTexture, vUv ).rg;23vec2 flowDirection = ( rawFlow - 0.5) * 2.0;45// Use two cycles, offset by a half so we can blend between them6float t1 = time / cycleTime;7float t2 = t1 + 0.5;8float cycleTime1 = t1 - floor(t1);9float cycleTime2 = t2 - floor(t2);10vec2 flowDirection1 = flowDirection * cycleTime1 * flowSpeed;11vec2 flowDirection2 = flowDirection * cycleTime2 * flowSpeed;12vec2 uv1 = vUv + flowDirection1;13vec2 uv2 = vUv + flowDirection2;14vec4 color1 = texture2D( riverTexture, uv1 );15vec4 color2 = texture2D( riverTexture, uv2 );
Here is an article which explains it in alot more detail, go have a read!


