For a long time now I have been learning geometry nodes and it has blown my mind whats possible..
The general work flow will be like this:
- Create a basic geometry to distribute points on
- To setup some geometry nodes
- To export the data as Y up (three’s world up vector) using Sverchok blender addon
- Load up the data and model into a codesandbox
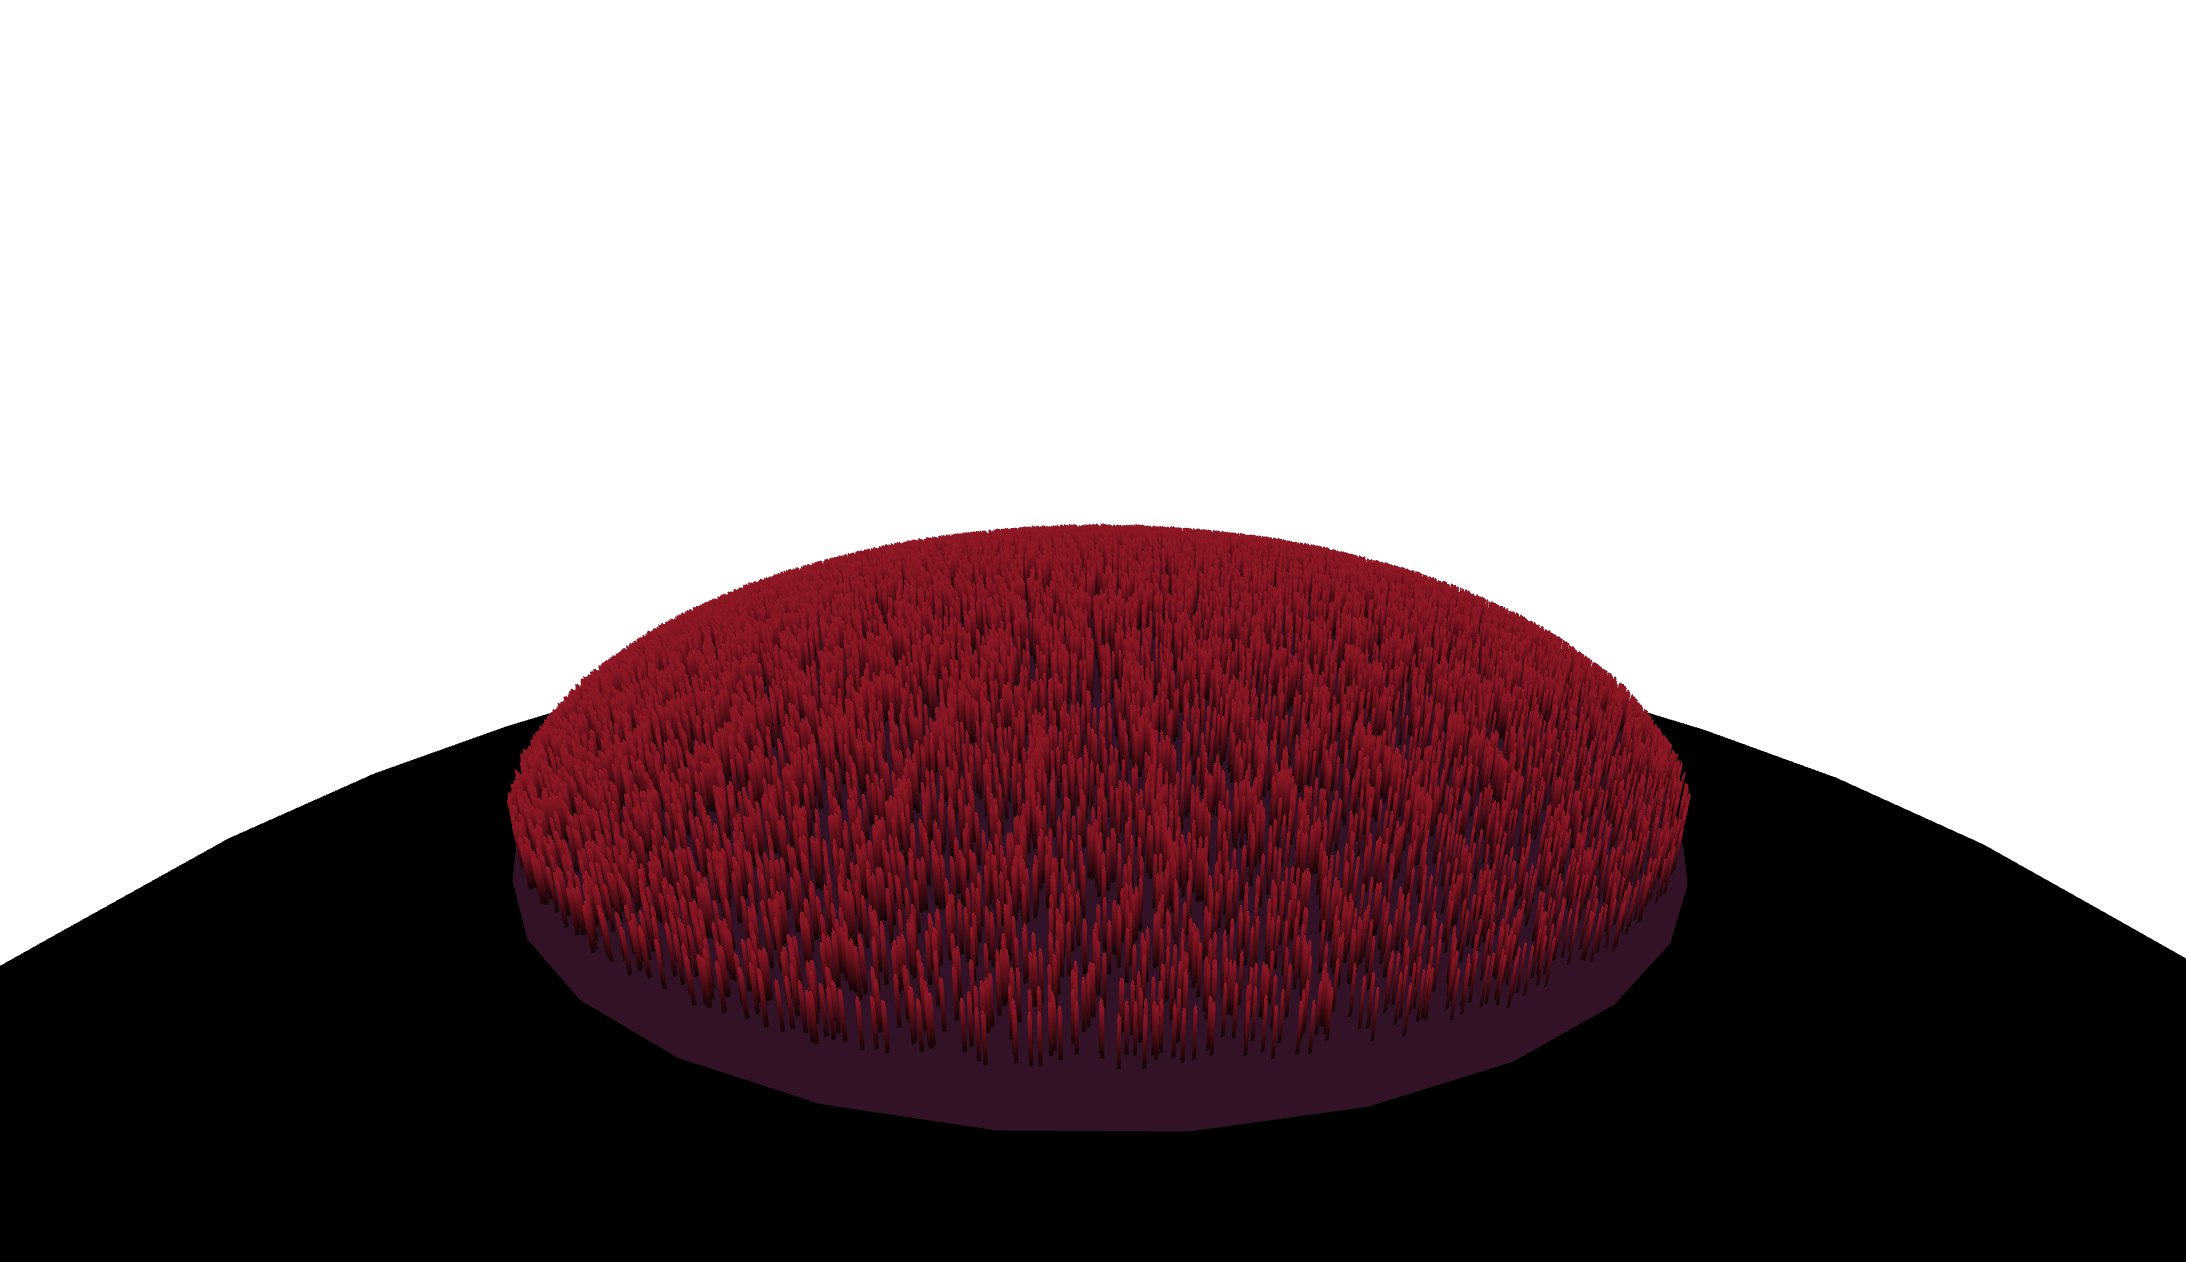
As abit of background I plan on creating a feature rich island with my r3f skills much like the car configurator was done a year ago. Showing examples of some real time effects / techniques.
But back to this articles purpose.
Creating a model
So first of load up blender and delete everything off the default scene. Once you’ve done this then you should create an uv sphere.
- shift + a —> generate uv sphere
- right click uv sphere and select shade smooth
- scale up slightly
- click on the z up of the axis gizmo or until you are looking down on the sphere
- tab into edit mode
- with box select, go and select all of the visible vertices
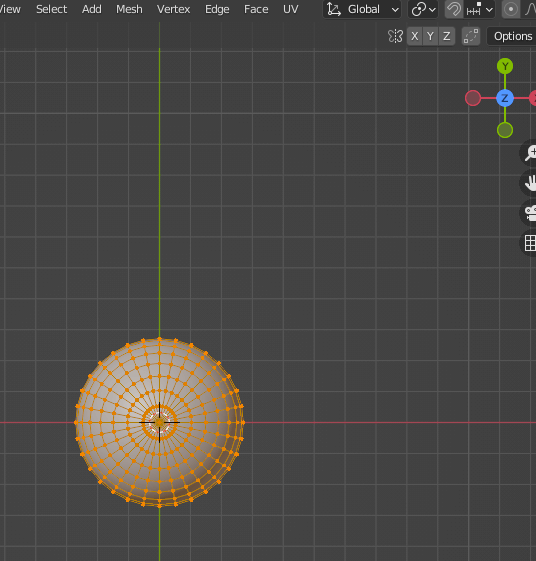
- select scale and compress the top of the sphere
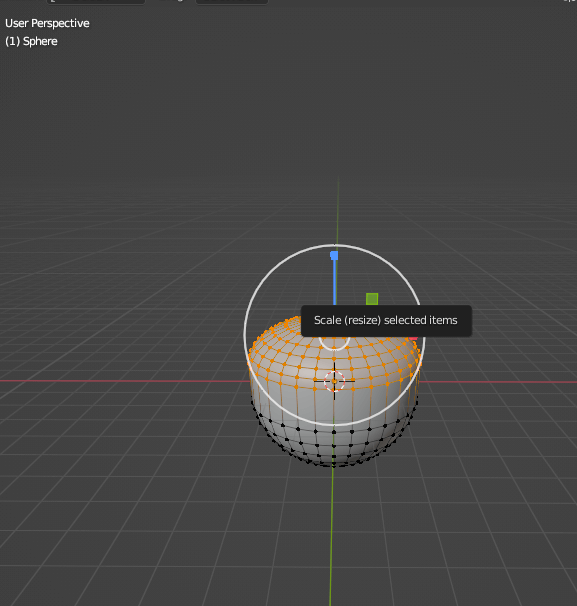
- then select translation and move everything still selected down to the top of the bottom section
Now we will give it a color:
- go to the shading tab in object mode
- new shader
- set the base color to something you like
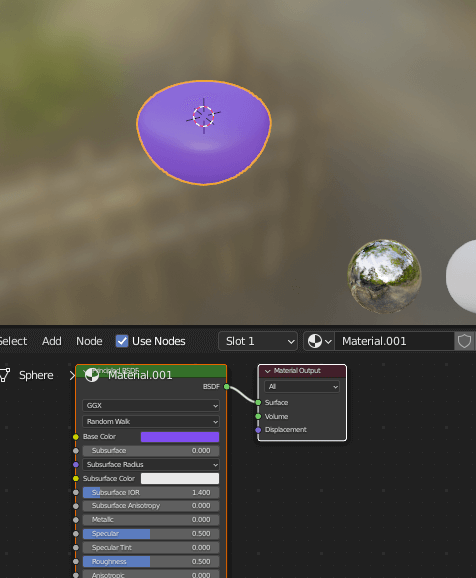
Once a color has been given:
- go to the layout tab
- create a plane
- scale up to the diameter of the sphere
- with the plane selected add a boolean modifier, and the sphere as the target
- select intersect option
- click the apply button
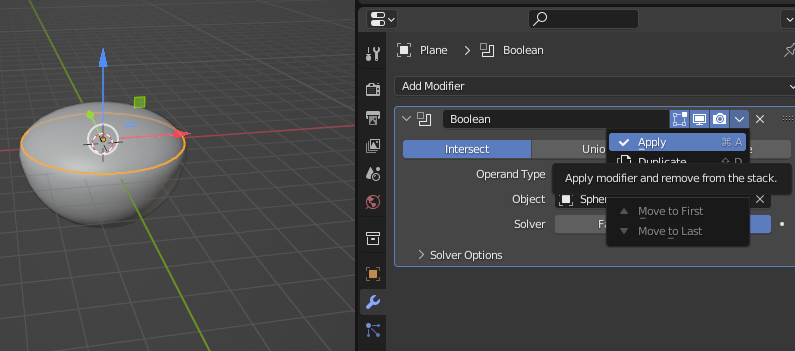
- move the plane above the sphere
- in edit mode with the plane selected press crt a to select all verticies
- poke faces until a good spread of verticies in the middle of the plane
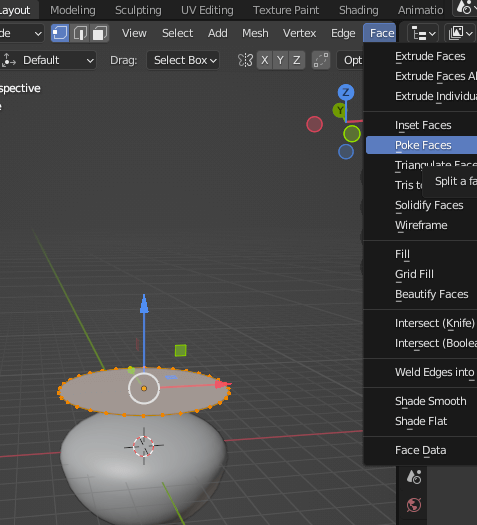
- with the plane still selected in object mode (press tab) add a shrink wrap modifier selecting the recently created sphere as the target and apply
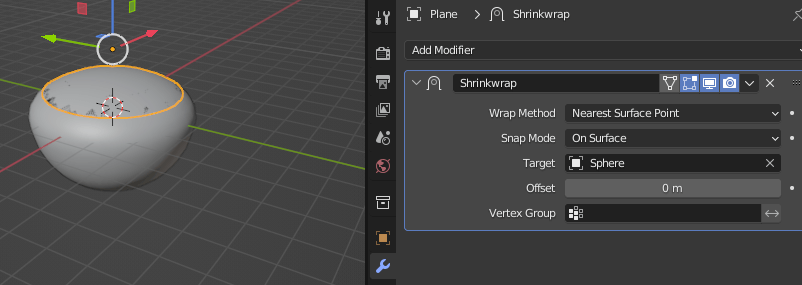
- in object mode with the plane selected go object menu —> set origin —> origin to geometry
- press control + a and apply all transforms
Now we have everything we need to distribute some points on the surface of the plane which we just shrink wrapped to the surface.
Setup Geometry Nodes
With the geometry nodes we want to accomplish getting a set of verticies to show in the evaluated tab. We need them to be verticies as I couldnt figure out a way to access points via the python API.
- But essentially we distribute points on surface
- Convert points to vertices
- hook up the vertices node to the output node
- check evaluated tab
So with this in mind lets begin:
Go to the geometry node tab and create a new set with the plane selected we just shrink wrapped.
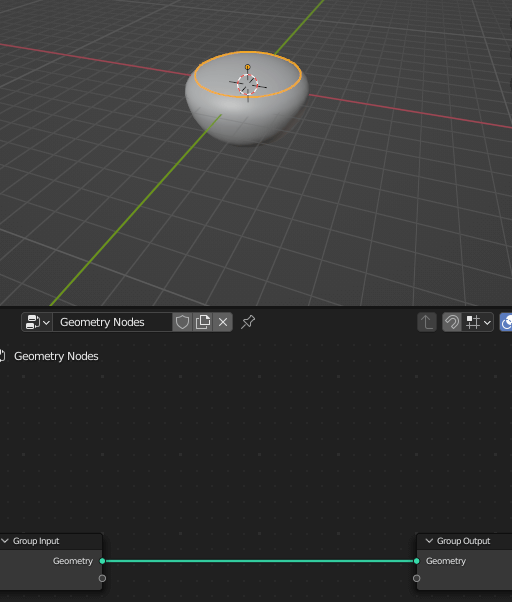
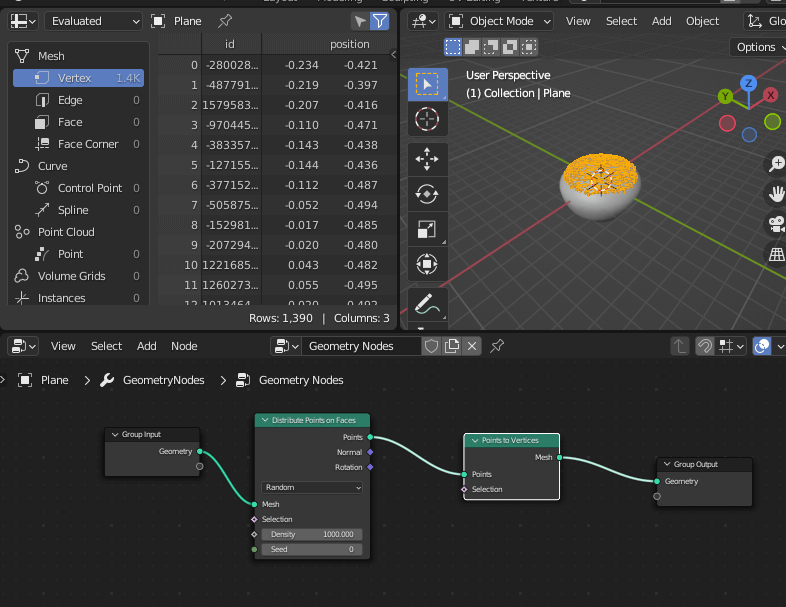
Shift + a and distribute points on surface node. Join up the output node geometry to the input node of the distribute node.
Do shift + a again and search points to vertices, connect up the output and input of this node and then join up the output of points to vertices to the general output node.
Set the density to something appropriate on the distribute points node, being careful with the density as it could make blender stop responding.
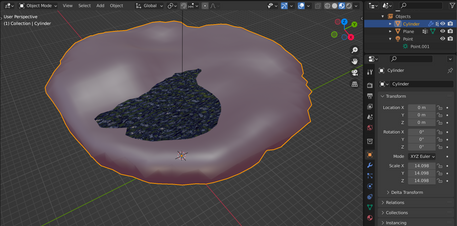
The plane will dissappear but hopefully you will see points like this:
And..
If you check the evaluated tab (top left in the image above) you should see a thousand or so vertices. Bingo! exactly what we need. We need the verticies to show here as when we try and access points instead of verticies its really hard with the python API or atleast I found this. So its good we actually have verticies we can now access in Sverchok node graph.
To Export The Data as Y up (three’s world up vector) using Sverchok - a free Blender Addon
When we install the Sverchok addon, a new option when selecting a panals view will appear looking like this:
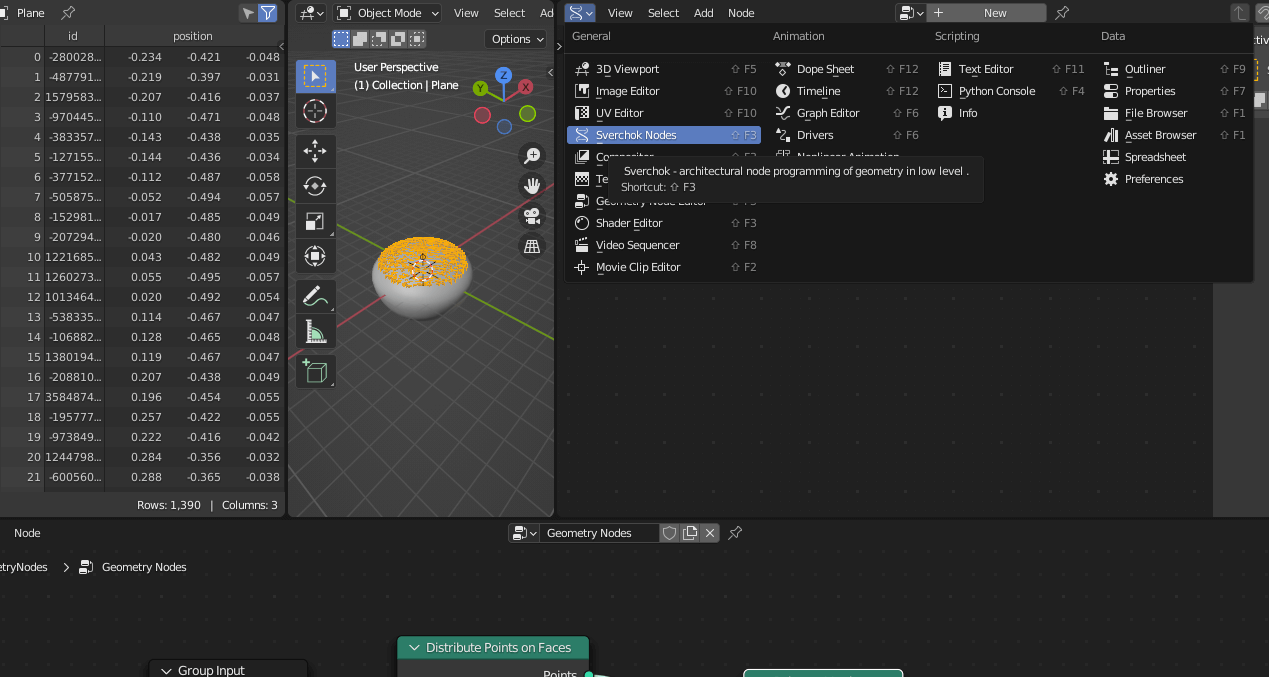
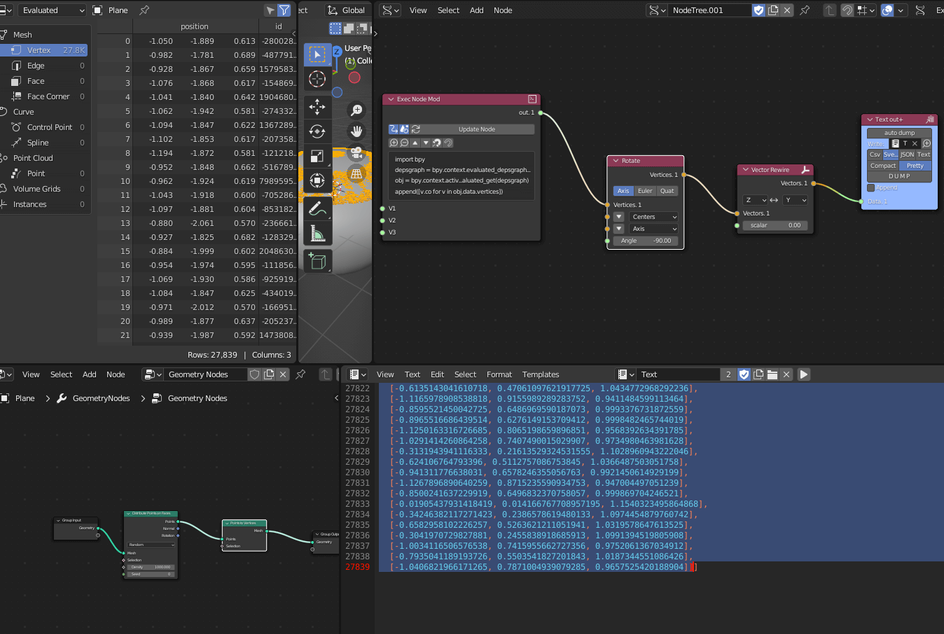
Go ahead and select it in a new pane. Heres my setup currently:

(N.B. small tip - right click on the border of a tab in blender to vertical split it)
So heres what we want, (FYI - shif + a allows you to search for the nodes to add) :
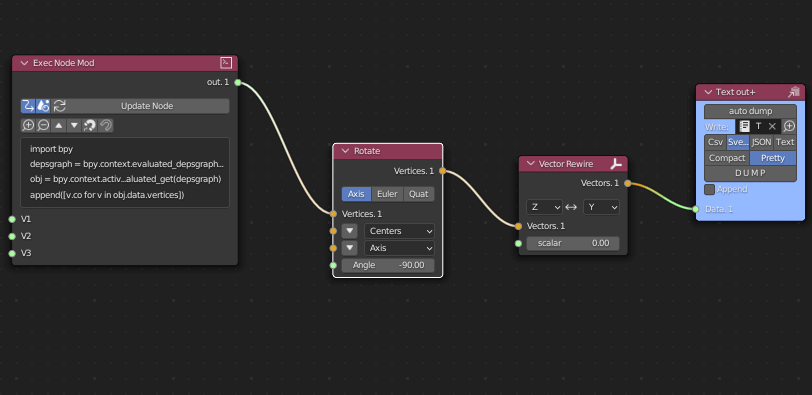
Lets break this down.
The exec node allows us to run a script in the context on blenders python API. So this is just alittle python script grabbing the data from the blender API:
1import bpy23depsgraph = bpy.context.evaluated_depsgraph_get()45obj = bpy.context.active_object.evaluated_get(depsgraph)67append([v.co for v in obj.data.vertices])
It took along time to figure out what works to extract the verticies out of the python blender API 😆
Connected to the exec node is a rotate node, which is a axis angle rotation, rotating the verticies around the x axis by -90 degrees. This is important as we dont have a blender gltf export Y+ option with this, so we have to do the manual calculations.. And once we have done this, the data will be in a format that we can use in three/r3f.
Connected to this is a rewire node the y axis with the z axis need to be switched.
And finally we have a text out+ node which we connect to our active text editor file and select sverchok pretty options.
And you should see a text file which has been populated with vectors spread across our place.
Load up the Data and Model into a Codesandbox
Im not going to go over the setup but theres a codesandbox I did with this setup:
Essentially export model —> gltfjsx for r3f —> load up data using this article as a basis.
Here is the blender file if you want to play around with it.
Final Thoughts
So hope you enjoyed the article and learned abit about blender and the ecosystem.
This workflow has many applications and is not limited to solid geometry in blender, it can be used in conjunction with volumes.
You do have to take into account performance but a scattering of grass on a scene cant be a bad thing 😉
Also this isnt limited to grass, if you want to scatter another geometry around a scene, the grass geom can be interchanged with what you prefer. Bare in mind the more verticies the geometry has and the more instancing you subsequently do, the more pressure you put on the GPU and CPU.
Thanks and stay tuned for some more fairly useful articles about images and vertex data. Peace out and enjoy the rest of the summer 😍

